
Overview
Voice evaluations allow you to assess audio content through human annotation tasks. This guide walks you through the complete process of uploading audio files and creating evaluations with timestamp-based questions, such as identifying when mispronunciations occur.Examples in this guide use the
scale-gp-beta package which runs exclusively on the V5 API.Step 1: Upload Audio Files
Before creating a voice evaluation, you need to upload your audio files to the platform. There are two methods available:Method 1: Direct File Upload
Upload files directly from your local filesystem:Method 2: Import from Cloud Storage
If your files are already stored in cloud storage (S3, GCS, etc.), you can import them in batch:Step 2: Create a Question
Create a timestamp-based question that annotators will use to mark specific points in the audio:Set
multi=True if you want annotators to be able to mark multiple timestamps in a single audio file. For voice evaluations, common question types include:- Mispronunciations: When did the speaker mispronounce words?
- Disfluencies: When did stuttering or filler words occur?
- Emotion changes: When did the speaker’s tone shift?
Step 3: Create the Voice Evaluation
Now combine the uploaded files and question into a complete evaluation:Understanding the Structure
data: Each object represents metadata for one audio sample. The items indatahave a one-to-one mapping with items infiles.files: Each object contains file IDs that correspond to the uploaded audio files. The first item infilespairs with the first item indatato form the first evaluation row.tasks: Defines what annotators will do. Here, we use acontributor_evaluation.questiontask with a timestamp question.
Next Steps
After creating your voice evaluation:- Monitor Progress: Check the evaluation status to see when annotation tasks are completed
- Annotate: Contributors will annotate and answer the questions and tasks you have created
- Review Results: Access the annotated timestamps through the evaluation items
- Analyze Data: Export results to analyze patterns in voice quality
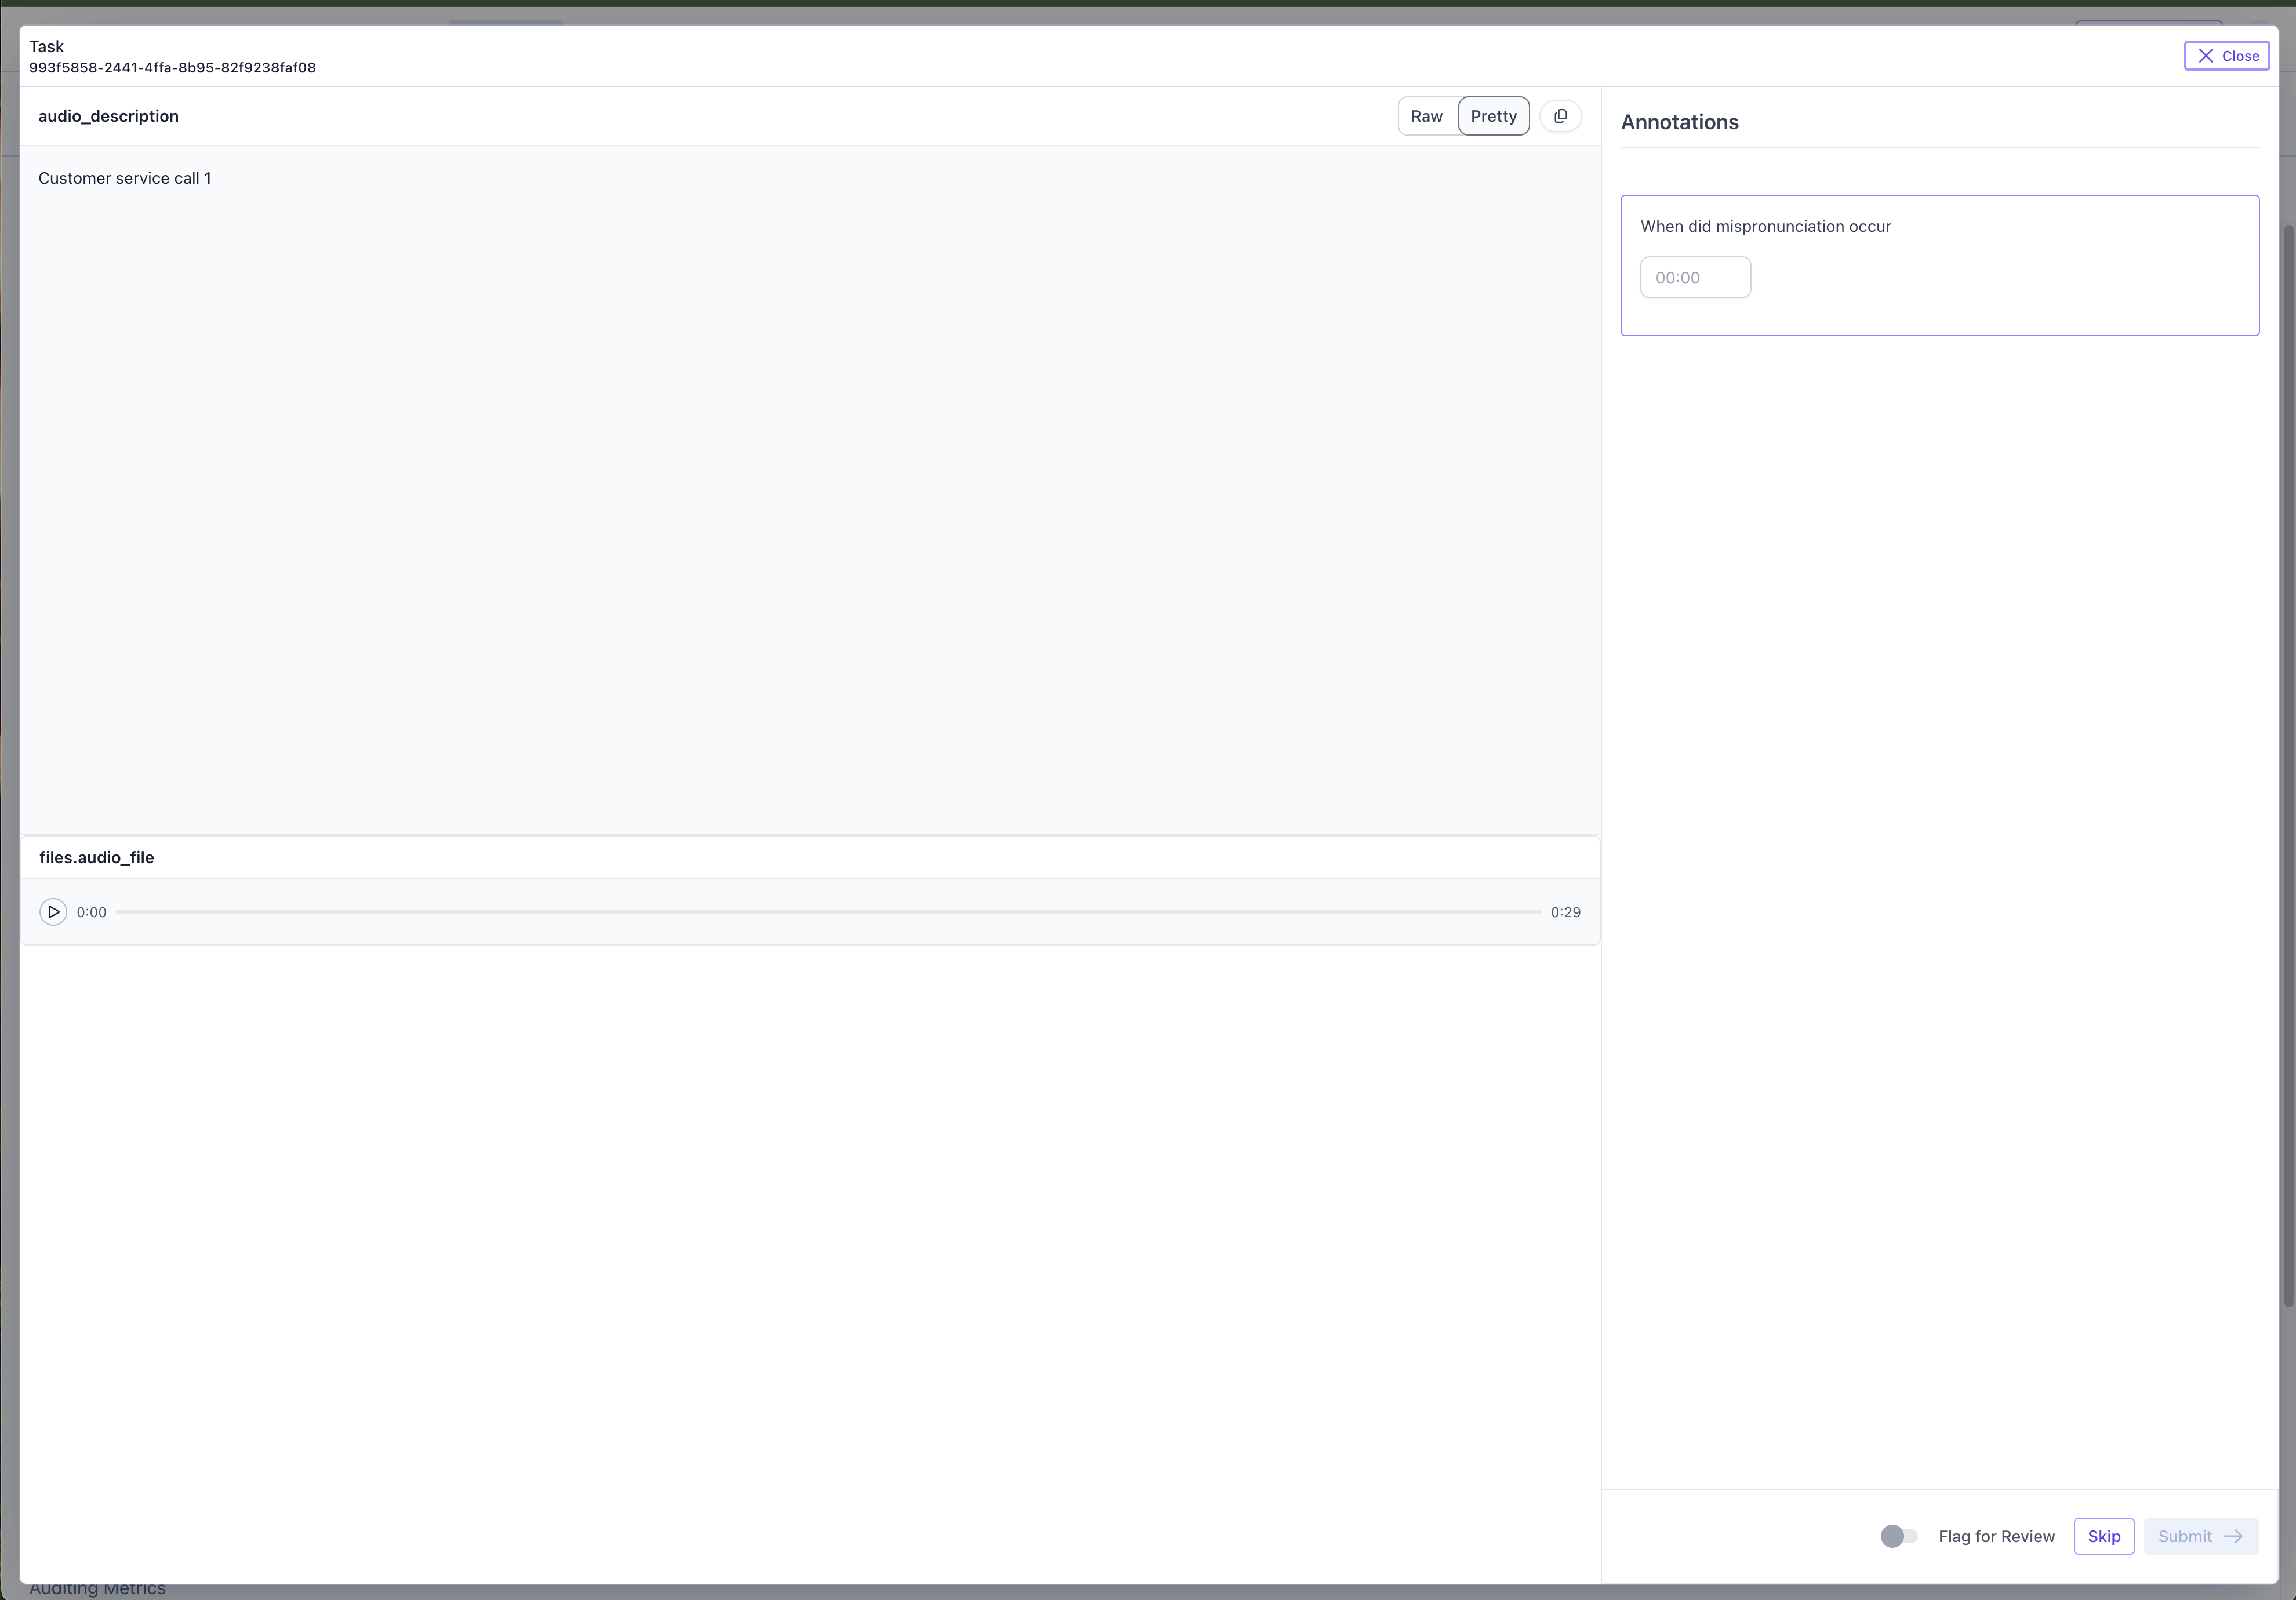
Example Annotation Flow
When contributors access the evaluation queue, they’ll see a clean interface displaying the audio player along with any metadata you’ve included (such as call IDs or descriptions). The audio player allows them to play, pause, and scrub through the audio file. As they listen, they can use the timestamp controls to mark specific moments when events occur (e.g., mispronunciations). Ifmulti=True was set, they can add multiple timestamps for each audio file. Once satisfied with their annotations, they submit their responses and move on to the next item in the queue.